
Sorry, it's been a while since our last post; we've been busy with the Trade Show, Craftathon & Great Create!
Hopefully, we are back on track...
Here is a 7 x 7 card made during our workshops.
This card is a sample made using Creative Expressions 'Stamps to Die For', with Phill's Sentimentally Yours Stamps and Paper Pads and Distress Inks misted with water. As usual, we've used some of Sue Wilson's dies.
The colours used on the main sample card are Stormy Sky and Victorian Velvet, but as always we've included samples made with other colours.
Stage 1 - Cut out die cut shapes needed for the card. Here we have used Orange Blossom Complete Petals & Delicate Fronds. (We cut out the Topper Die after we stamped the decorative frame... unless you're brave enough!!!!)
Stage 2 - Select your background paper and coordinating Distress Ink Pads. Here we have used the Decadent Damask Paper Pad (Denim) with Stormy Sky & Victorian Velvet.
Stage 3 - Cut the background layer in white card 16 x 16 and use a Smoothie to blend the colour around the edges of the layer. Cut the background paper 15 x 15 and layer together on the card blank.
Stage 4 - Use a water colour brush to paint the Orange Blossom Petals, starting with the middle colour and then overlapping the outer colour a little. To do this we stamped the ink pad onto a blending mat and picked the ink up with the brush. (Don't worry if the colour looks dark as spraying with a lot of water will blend and soften the look) When all the petals are coloured lay them out on a piece of kitchen roll. Spray the petals with a water mister until the colours start to bleed. (It may take more water than you think, so start with 5-6 sprays and check as you go). Leave these to dry naturally for at least 30 minutes before you use the heat tool if you get bored waiting!

Stage 5- Select your Stamps To Die For decorative frame. Here we have used the Baroque Blossom to coordinate with the Damask Paper Pad. We have inked the stamp with the TWO distress inks, ensuring we have overlapped the colours slightly. Then we have very lightly misted water over the stamp, just 2 or 3 sprays; enough to leave tiny water drops on the ink. Stamp the image, holding the stamp in place for about 10 seconds to allow the colour to sink in. Let the image dry.
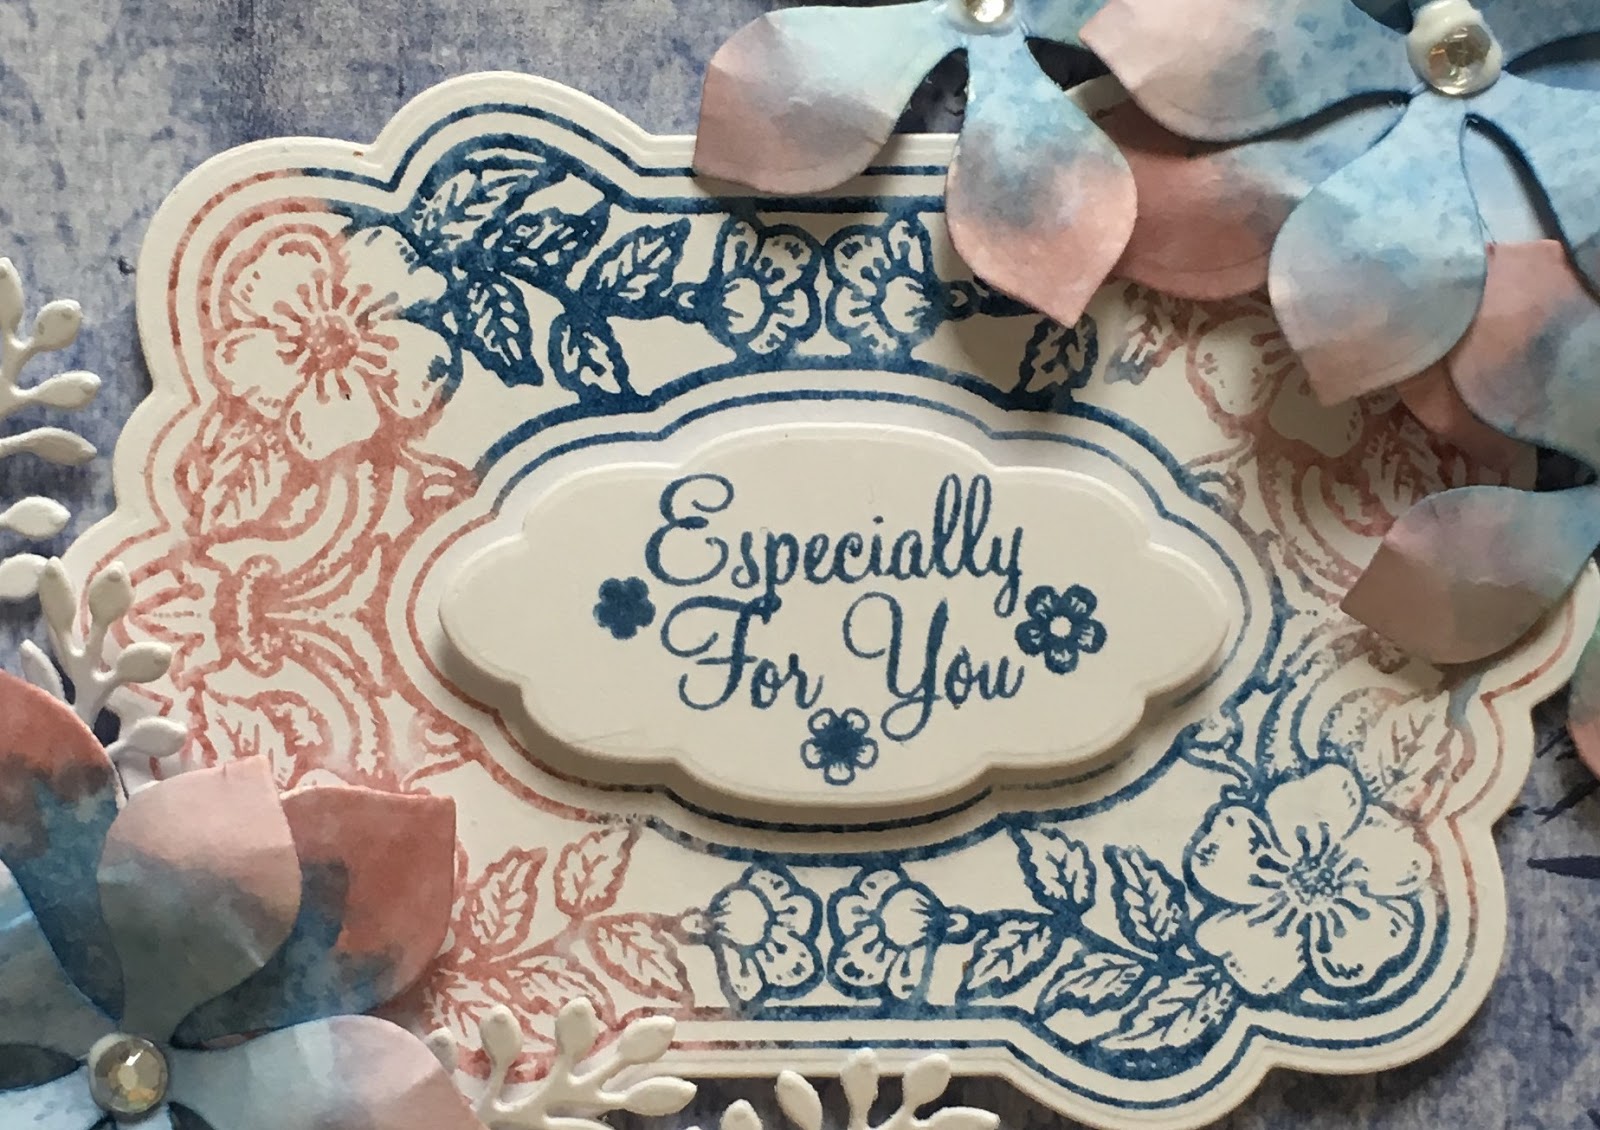
Stage 6 - When the decorative frame stamp is dry use the coordinating die to cut out the shape. Here we have used the Seychelles Die. Don't forget the little sentiment topper, which needs stamping with a small sentiment from either the Blossom or Timeless Collection.
Stage 7 - Shape your flowers, assemble all the layers and add some bling!
The Full Card

Here is a list of what we used with links to the www......
- 7x7 Card Blank
- Sentimentally Yours 'Blossom Everyday Sentiment Tags' or
- Sentimentally Yours 'Timeless Everyday Sentiment Tags'
- Sentimentally Yours 'Decadent Damask Paper Pad'
- Sentimentally Yours 'Timeless Paper Pad'
- Stamps To Die For 'Baroque Blossoms' or
- Stamps To Die For 'Decorative Driftwood'
- Sue Wilson Dies - Orange Blossom Complete Petals
- Sue Wilson Dies - Delicate Fronds
- Sue Wilson Dies - Indian Ocean 'Seychelles' or
- Sue Wilson Dies - Indian Ocean 'Maldives'
- Distress Inks - Various Colours
- Creative Expressions - Smoothies
- Creative Expressions - Water Colour Brush
- Creative Expressions - Water Misters
- Creative Expressions Foundations Card - Bright White
- Shape It Tool
- Creative Expressions Glitter Jewels
- Cosmic Shimmer Dries Clear PVA Glue
- Dovecraft Double Sided Foam Tape
Peeled Paint/Picked Raspberries

Faded Jeans/Walnut Stain

Faded Jeans/Dusty Concord

Remember -We are more than happy for you to replicate our cards in your own style :-)
Happy Crafting!

PS - Don't forget to 'like' Phill's Facebook page and follow him on Twitter to keep in touch, you can also find him on Pinterest and Instagram for ideas and inspiration :-)
(Links below)
Facebook: Twitter: Pinterest: Instagram: Honeypot Crafts (my website): You Tube Channel
Thanks for showing us these lovely cards Karen. It's nice to see the different colour combinations. SueL x
ReplyDeleteLove every one and cannot pick a favourite colour choice. Great ideas. Thank you, hope to see you at Doncaster race course.
ReplyDeleteAll beautiful cards. Thank you for sharing these with us.
ReplyDelete