It's a little nippy outside so, I've made myself a cuppa and thought I'd show you one of my sample cards that I made using my latest range of stamps and cosmic shimmer products in more detail.
Ingredient List (with links to go get them from my wesbite :-)
8x8 Card Blank
Graceful Butterflies & Dragonflies 8x8 Paper Pad
Graceful Mint Embossing Powder
Graceful Mint Twinkles
Graceful Mint Pearl PVA Glue
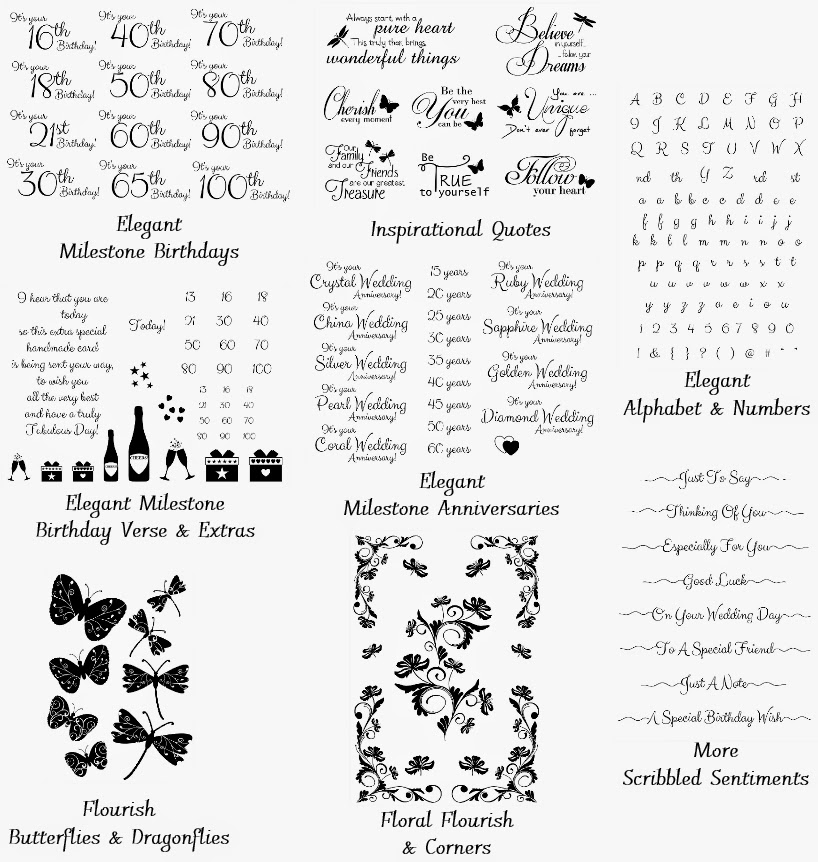
Elegant Milestone Birthdays Stamps
More Scribbled Sentiments Stamps
A4 Climbing Vines Embossing Folder
Dies by Sue Wilson French Collection - Provence
Dies by Sue Wilson Finishing Touches - Delicate Daisies (Full Petals)
 |
8x8 cards are a great size to work with,.. plenty of space to decorate without being overpowering and not too expensive to post (if you use the right adhesives!.. I try to stick to Cosmic Shimmer acrylic glue and foam pads where possible as some of the glue gels can be heavy if you use lots on your card)
I started, as I always do, by deciding which colour scheme I wanted, with 6 lovely new colours in my Cosmic Shimmer range, that wasn't as easy as I thought! I opted for the Graceful Mint :-)
I die cut several of the delicate daisies from the reverse of a couple of sheets of the mint papers from the Graceful Butterflies & Dragonflies paper pad, ensuring I got two different shades of mint. The tips of some of the flowers were then pushed onto my perfect medium pad, then embossed with the Graceful Mint Lustre Embossing Powder. I didn't pay much attention to how neat they were, as the overall effect was to be random, but how lovely does the pearlescent finish of the embossing powder look on those petals? It was worth the time!
I then cut a piece of white card to 16cm x 16cm and cut an aperture in the centre, the 'frame' was then embossed with the beautiful Climbing Vines embossing folder.
I cut one of the plain shapes from the Provence dies, stamped the sentiment from the Elegany Milestone Birthdays Stamps (black soot distress ink) and then decorated the top, bottom and corners with the Graceful Mint Pearl PVA Glue and put this to one side to allow them to dry.
I created two smaller layers than the card, one with a sheet from the Graceful Butterflies & Dragonflies paper pad and one from plain white card.
I stamped the sentiment from the More Scribbled Sentiments Stamps on all four sides and added a cheeky '50' in each corner lol
The two layers were then stuck onto my card blank.
I cut another piece of paper from the pad, the beautiful lacy mint one, to 16cm x 16cm then, using foam pads, I stuck this together with the embossed frame,.. this is a great way to create interest to frames/apertures too,.. the pretty paper makes a lovely backdrop to the frame. This was then stuck onto the centre of the card.
Now, the fun (and easiest) part, the assembly!
Once the frame and layers are on your card, it really is just a matter of popping the die cut shape with the sentiment onto some foam pads and putting it in the centre of the frame (make sure your pearls have dried, we don't want flat pearls lol)
Then, just arrange your flowers as you wish, I used Cosmic Shimmer Acrylic glue to fix them as it dries quickly and doesn't leave a mess!
The centre of the smaller flowers was then filled with the Graceful Mint Twinkles and the larger ones had a mini dazzler :-)
It probably took me about an hour to do this card, the embossing of the flower petals takes a while to do, but the lustre and pearly finish create a beautiful effect once it's all together.
Anyhoo, I hope you like this card,.. why not try it in one of the other lovely colours in the paper pad and co-ordinating Cosmic Shimmer products :-)
All the goodies I've used are available on my website, just use the links on the ingredient list to take you there and if you treat yourself to one of the paper pads and you'd like me to sign it for you, just email me, I'm happy to! :-)
Happy Crafting!


