
Here is a card made at our regular workshops.
This card was made using Phill's 'Splatterlicious' Stamp Collection with the Ranger Distress Oxide Ink Pads.
We have also used Sue Wilson Dies; Succulent Garden and Bold Scrolled Vine.
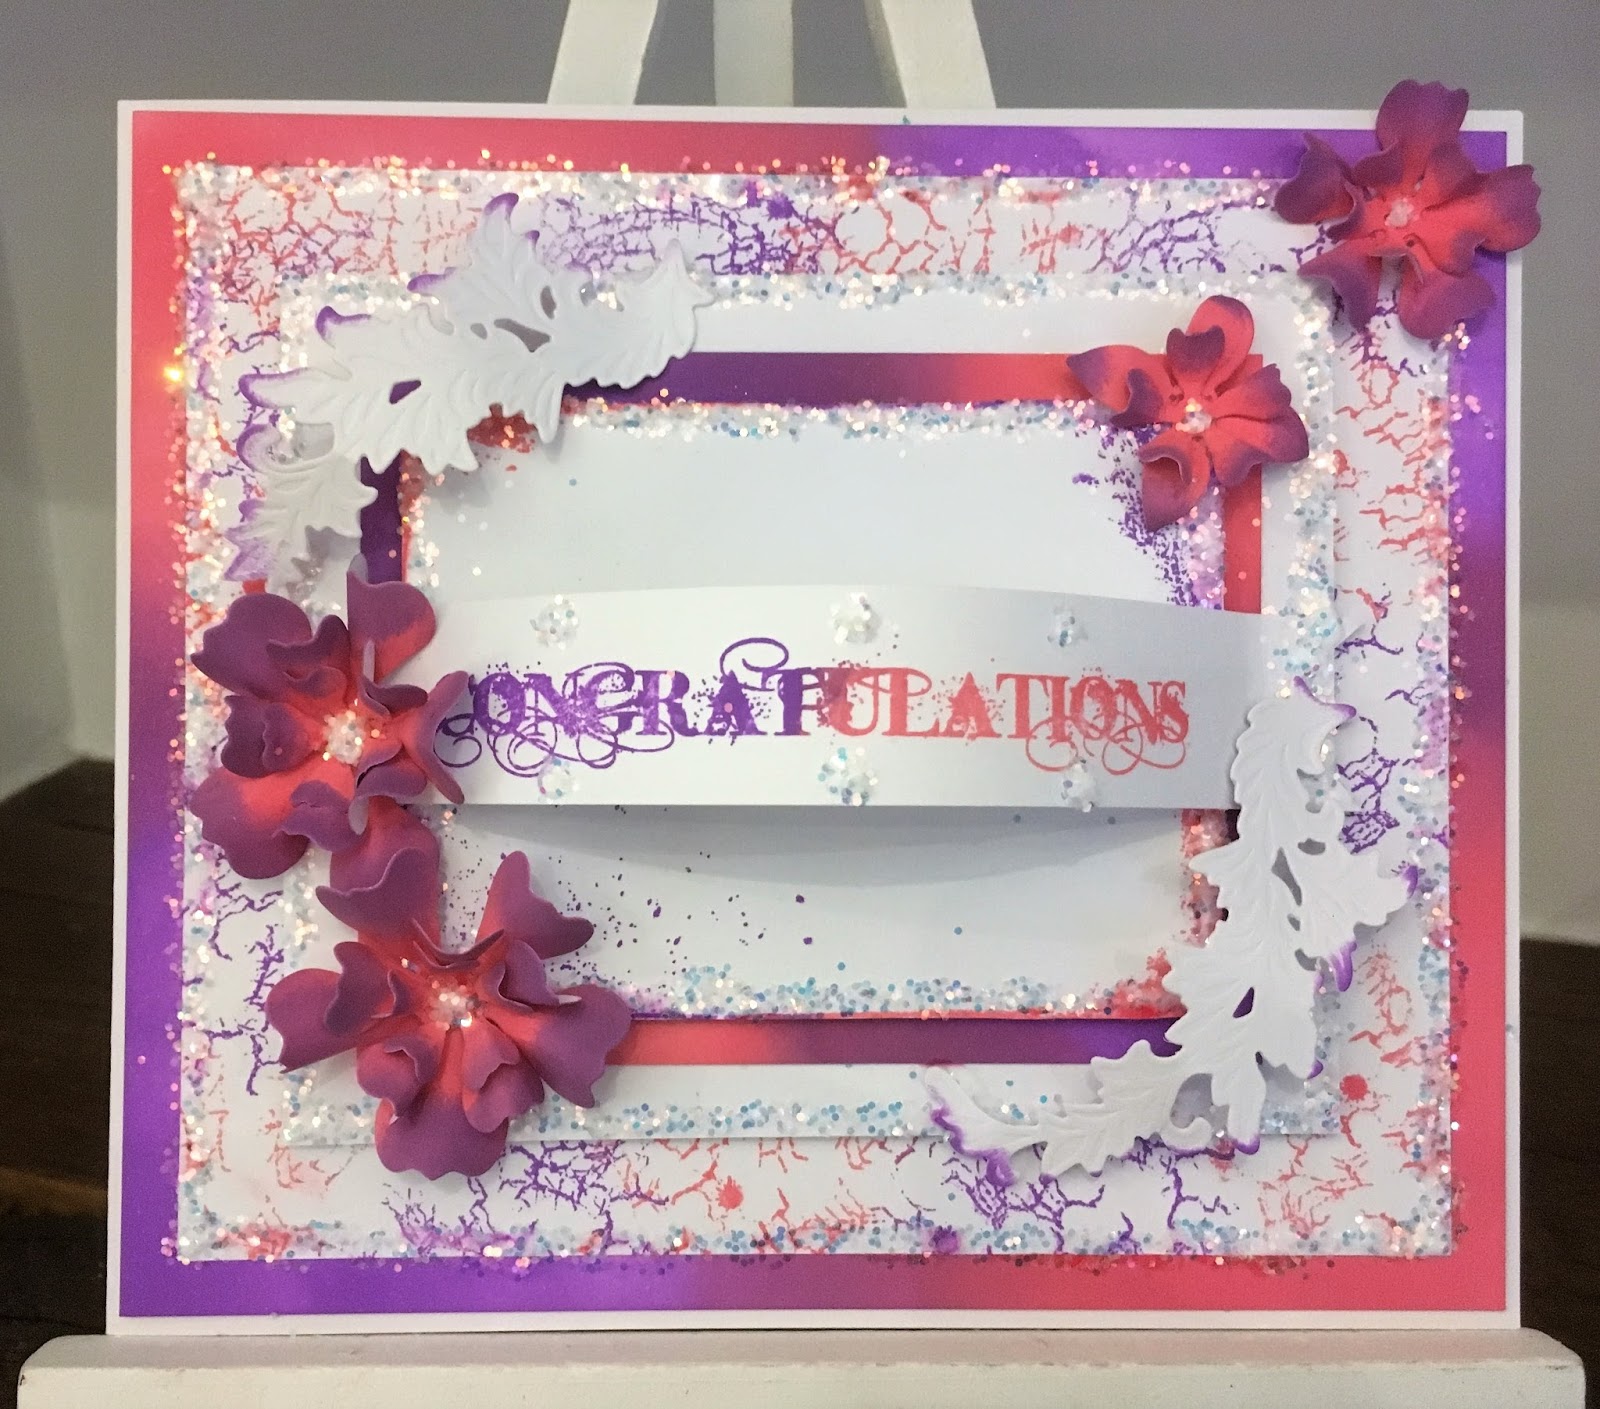
The colour on the main sample card is Iced Spruce with Broken China. The Stamps used are; Splatterlicious 'A5 Inspirational Sentiments', 'Large Rectangle Frame and 'A5 Textures'. As always we've included cards made using different colours and stamps. (all these cards have been made by crafters at our workshops!)
Stage 1 - Cut all the layers and die cuts needed to make your card in Bright White card.
- Base Card -19cm x 16.5cm
- 1st Layer (inked) - 18.5cm x 16cm
- 2nd Layer (stamped) - 17cm x 14.5cm
- 3rd Layer (white) - 14cm x 11.5cm
- 4th Layer (inked) - 12cm x 9.5cm
- 5th Layer is the stamped rectangle frame cut out
Stage 2 - Choose your two coordinating Distress Oxide Colours. There are so many gorgeous colours that blend and stamp beautifully! Using a Smoothie apply your chosen colours to the edges of the layers as in the photo. Here with have inked Layer 1 and 4 and used the opposite colour in opposite corners.
Stage 3 - Stamp your chosen pattern onto the 2nd Layer. Here our crafter has used a single stamp from the 'A5 Textures Stamp Set' and repeated the image around the edges. The Rubber background stamps also work really well on this layer!
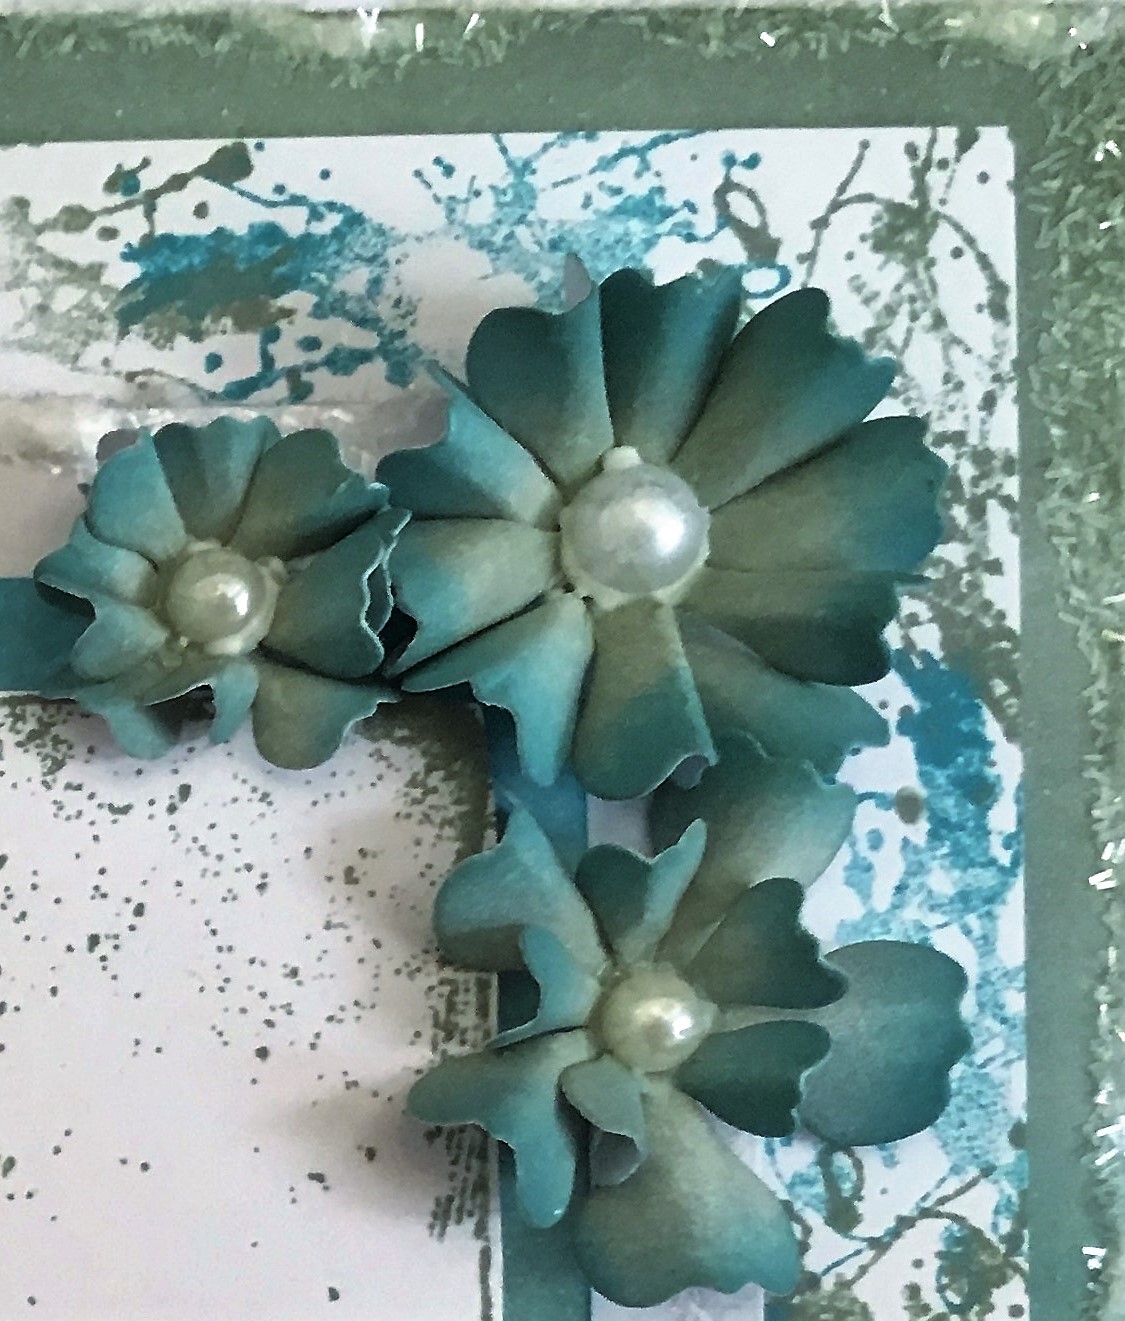
Stage 4 - Colour the flower petals in the two coordinating colours. Shape your flowers as you wish, assemble them and leave to dry. Add colour to the Bold Scrolled Vine leaves if you wish.
Stage 5 - Stamp the Large Rectangle Frame onto a scrap piece of bright white card and cut. Here our crafter has used both Distress Oxide Ink colours, which gives a stunning finish!
Stage 6 - Stamp your chosen sentiment into the middle of the Large Rectangle Frame. (You could also use a banner across the frame)

Stage 7 - Assemble all the layers, using foam tape where you wish to lift the layers. Place your leaves and flowers where you wish and add some bling!
The Full Card

Here is what our crafter used with links to the website......
- Sentimentally Yours Splatterlicious Stamps 'Inspirational Sentiments'
- Sentimentally Yours Splatterlicious Stamps 'Large Rectangle Frame'
- Sentimentally Yours Splatterlicious Stamps 'Textures'
- Sue Wilson Dies 'Succulent Garden'
- Sue Wilson Dies 'Bold Scrolled Vine'
- Foundations Card 'Bright White'
- Distress Oxides 'Various Colours'
- Creative Expressions 'Smoothies'
- Woodware 'Hot Stuff Mat'
- Dovecraft Double Sided Foam Tape
- Cosmic Shimmer Dries Clear PVA Glue
- Cosmic Shimmer 'Glitter Jewels'
- Creative Expressions 'Pearls'
- Grimeboss
Other Colour samples.....
 |
| Walnut Stain and Spiced Marmalade |
 |
| Worn Lipstick and Wilted Violet |
 |
| Iced Spruce and Spiced Marmalade |
 |
| Peeled Paint and Fossilized aAmber |
 |
| Worn Lipstick and Wilted Violet with a banner
Remember - we are more than happy for you to replicate our cards in your own style! :-)
|

can also find him on Pinterest and Instagram for ideas and inspiration :-)
(Links below)
Facebook: Twitter: Pinterest: Instagram: Honeypot Crafts (my website): You Tube Channel