
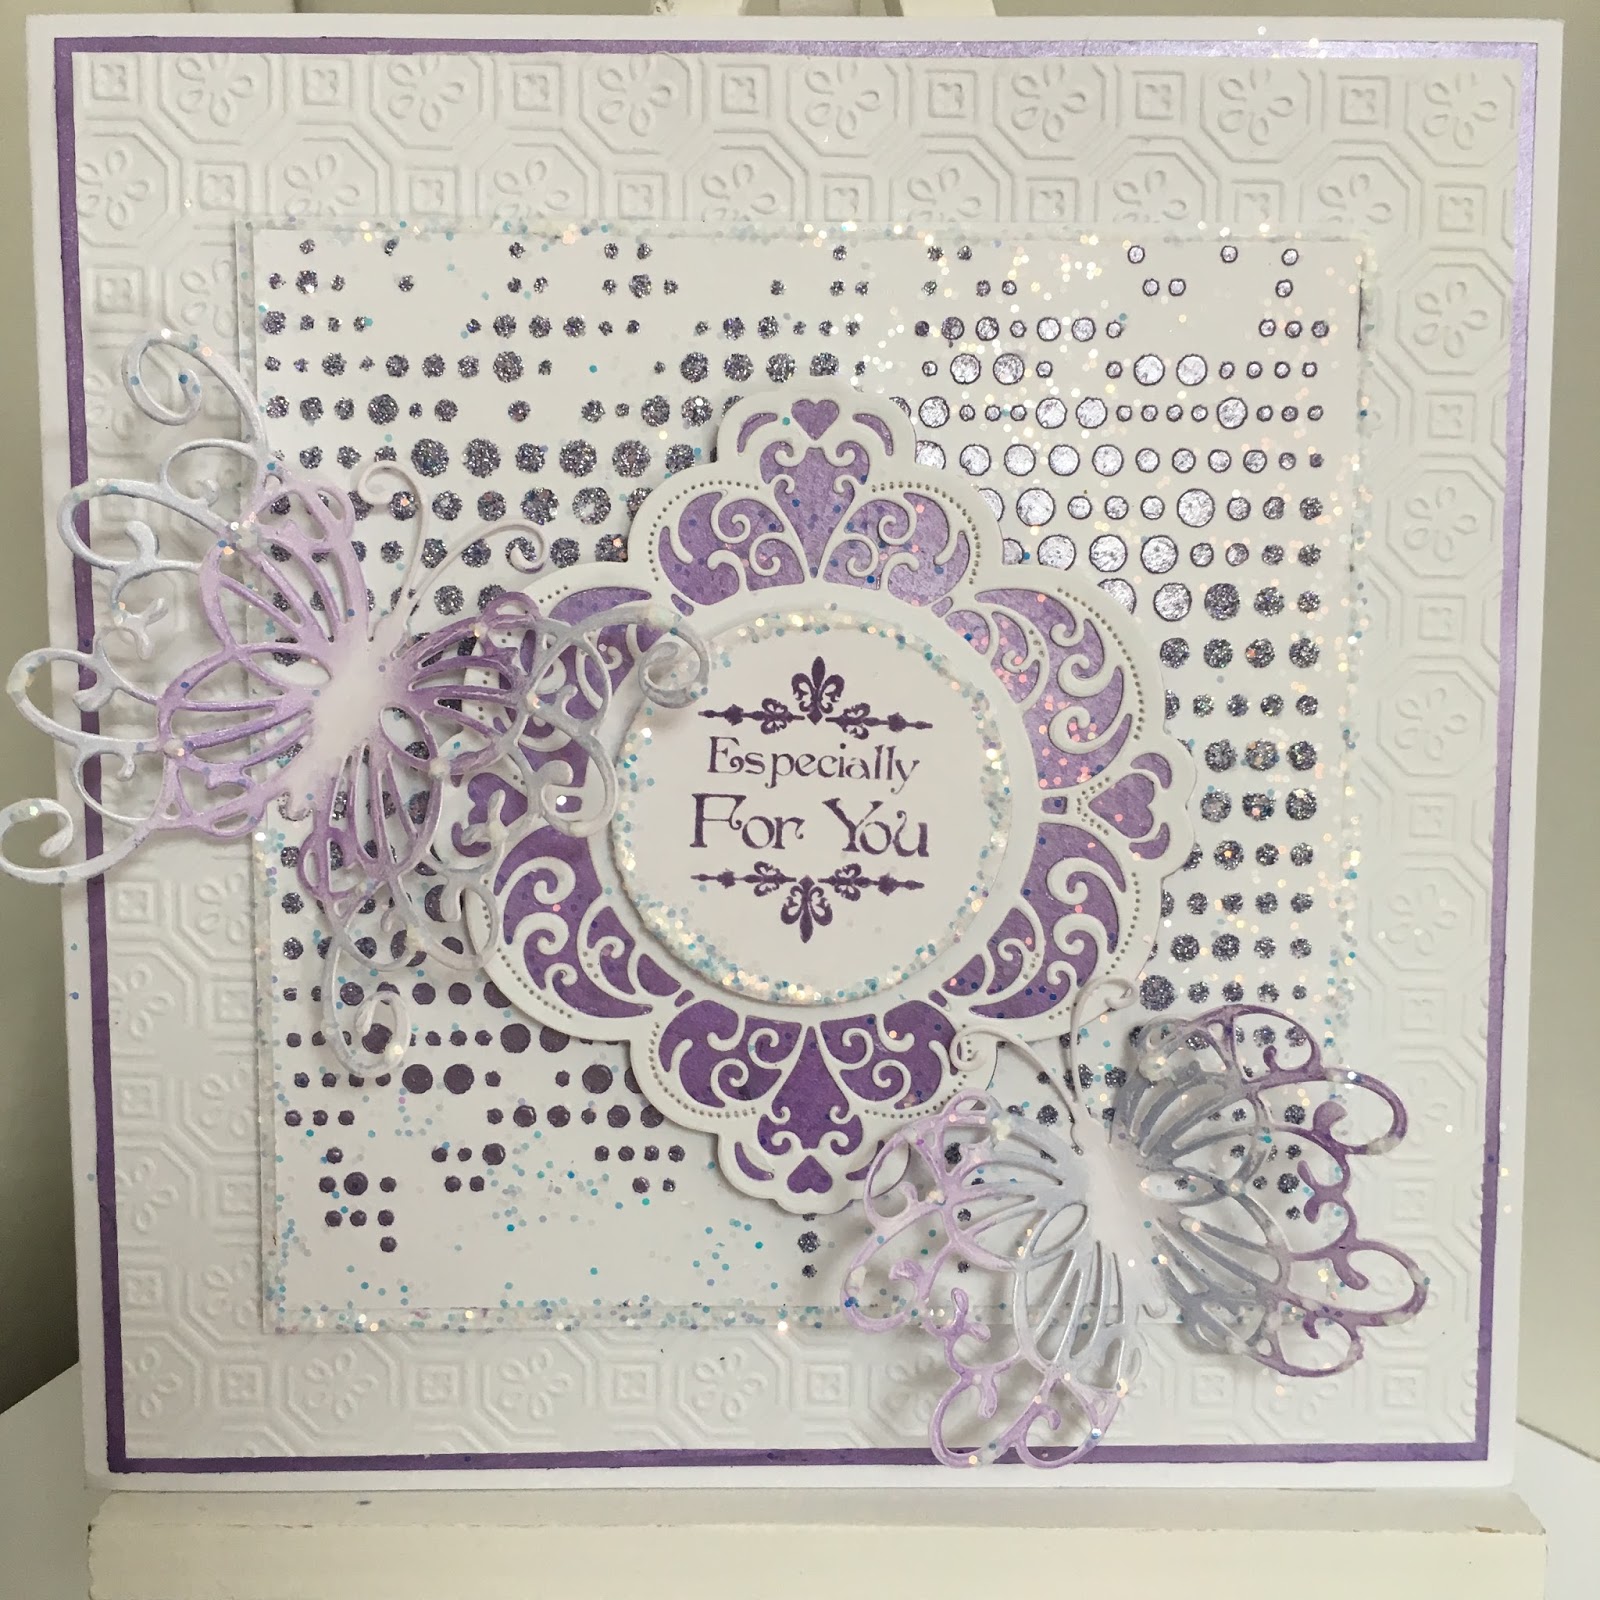
Here is an 8 x 8 card made during our card-making workshops.
This card is a sample made using Cosmic Shimmer Texture Paste and Gilding Wax in Phill Martin Colours 'Frosted Collection', Sentimentally Yours Stamps 'Baroque Collection', That Special Touch Masks, Distress Inks, Sue Wilson Dies and Creative Expressions A4 Embossing Folders.
The colours used on the main sample are Phill's Cosmic Shimmer colours in Frosted Mink, but as always we've included samples made in other colours.
Stage 1 - cut out all the die cut shapes needed for the card. Here we have used Maggie from the Frames & Tags Collection and Majestic Monarch.
Stage 2 - cut out the layers needed for your card. Emboss one layer in your chosen pattern. Here we have used Fine Finials.
Stage 3 - select your colour! (the best bit) and your mask. Here we have used Frosted Mink and Leaf Print. Use a spray adhesive to stick your mask to the top white layer (we usually make this layer just a little bigger than the mask)
Stage 4 - using a palette knife apply the Pearl & Sparkle texture paste through the mask to create your preferred pattern. Here we applied the Sparkle diagonally across the middle and then the Pearl diagonally onto the outer parts, overlapping the two a little. Carefully, peel back the mask from the card layer and wash the mask in soapy in water.
TIP - Use long strokes with the palette knife and in the same direction; avoid lots of little strokes as this causes the paste to seep under the mask. Leave to dry - which might take up to 1 hour depending on the temperature! We put ours near the radiators to speed up the drying process.
Stage 5 - use the gilding wax to cover the solid frame from the Maggie die, the edges of the back layer and also the butterflies. Here we chose to cut down one of the butterflies to create a different shape.

Stage 6 - use a coordinating Distress Ink pad to stamp your chosen sentiment onto the top circle shape from the Maggie die. Here we have used the Mini Baroque Everyday Sentiments.

Stage 7 - when the texture paste layer is dry assemble all the layers using double sided foam tape where you like and add your lovely butterflies and some Glitter Jewels!
The Full Card

Here is what we used with links to the www....
- 8 x 8 card blank
- Sentimentally Yours 'Baroque Sentiments Collection'
- Cosmic Shimmer Colours by Phill Martin 'Gilding Wax'
- Cosmic Shimmer Colours by Phill Martin 'Sparkle Texture Paste'
- Cosmic Shimmer Colours by Phill Martin 'Pearl Texture Paste'
- Sue Wilson Dies 'Majestic Monarch'
- Sue Wilson Dies 'Maggie'
- That Special Touch Masks
- Creative Expressions A4 Embossing Folders
- Creative Expressions 'Bright White Foundations Card'
- Distress Inks 'Various Colours'
- Palette Knife
- Creative Expressions 'Glitter Jewels'
- Cosmic Shimmer Dries Clear PVA Glue
- Dovecraft Double Sided Foam Tape
Frosted Aqua

Frosted Heather
Frosted Jade/Blossom

Remember -We are more than happy for you to replicate our cards in your own style :-)
Happy Crafting!

PS - Don't forget to 'like' Phill's Facebook page and follow him on Twitter to keep in touch, you can also find him on Pinterest and Instagram for ideas and inspiration :-)
(Links below)
Facebook: Twitter: Pinterest: Instagram: Honeypot Crafts (my website): You Tube Channel
Hi Karen. Beautiful cards. Never had much luck with texture paste, must practise more. SueL x
ReplyDeleteI enjoyed making this card the other week, I forgot to ask which distressing inks coordinate with the frosted range. David
ReplyDeleteHi Karen
ReplyDeleteGorgeous selection of cards. I love using texture paste :)
June x
Stunning cards what s gift you have happy Easter phill&karen xxxxxx
ReplyDeleteLove June horrocks
These are wonderful, xxxx
ReplyDelete