What's New

My Brand New Sentimentally Yours 2017 Xmas Stencils are now available at www.honeypotcrafts.co.uk!
Showing posts with label Honeypot Crafts. Show all posts

Sunday, 3 August 2014

Christmas Show Card Samples - One day at a time - Day 5!

Good Morning Everyone

It's a bit of a breezy day here in Nottingham!, but the sun is shining so it's ok :-)

I've got lot's to do between today and tomorrow!

I'm back on Create & Craft on Tuesday at 8am and 2pm, with 'Best Sellers' shows,.. this is a great way for me to bring back some of the stamps we've had on previously, that sold out so quickly I didn't get chance to demo them properly!
It's also a great opportunity for you to grab them whilst they are back :-)

It's also the Great British Craft Festival at Stoneleigh Park in Warwick next weekend, so I'm restocking and making sure I have lot's of lovely stamps and my new Vintage Christmas Paper Pad ready for you!
If last years event is anything to go by, this year will be even better!

I'm on stand A2 'Sentimentally Yours Stamps by Phill Martin' and I will have my sister (Karen) and my friends Lorraine and Tanya helping me out,.. my Auntie Sue will also be helping me on the Sunday so I'm really looking forward to a busy weekend!

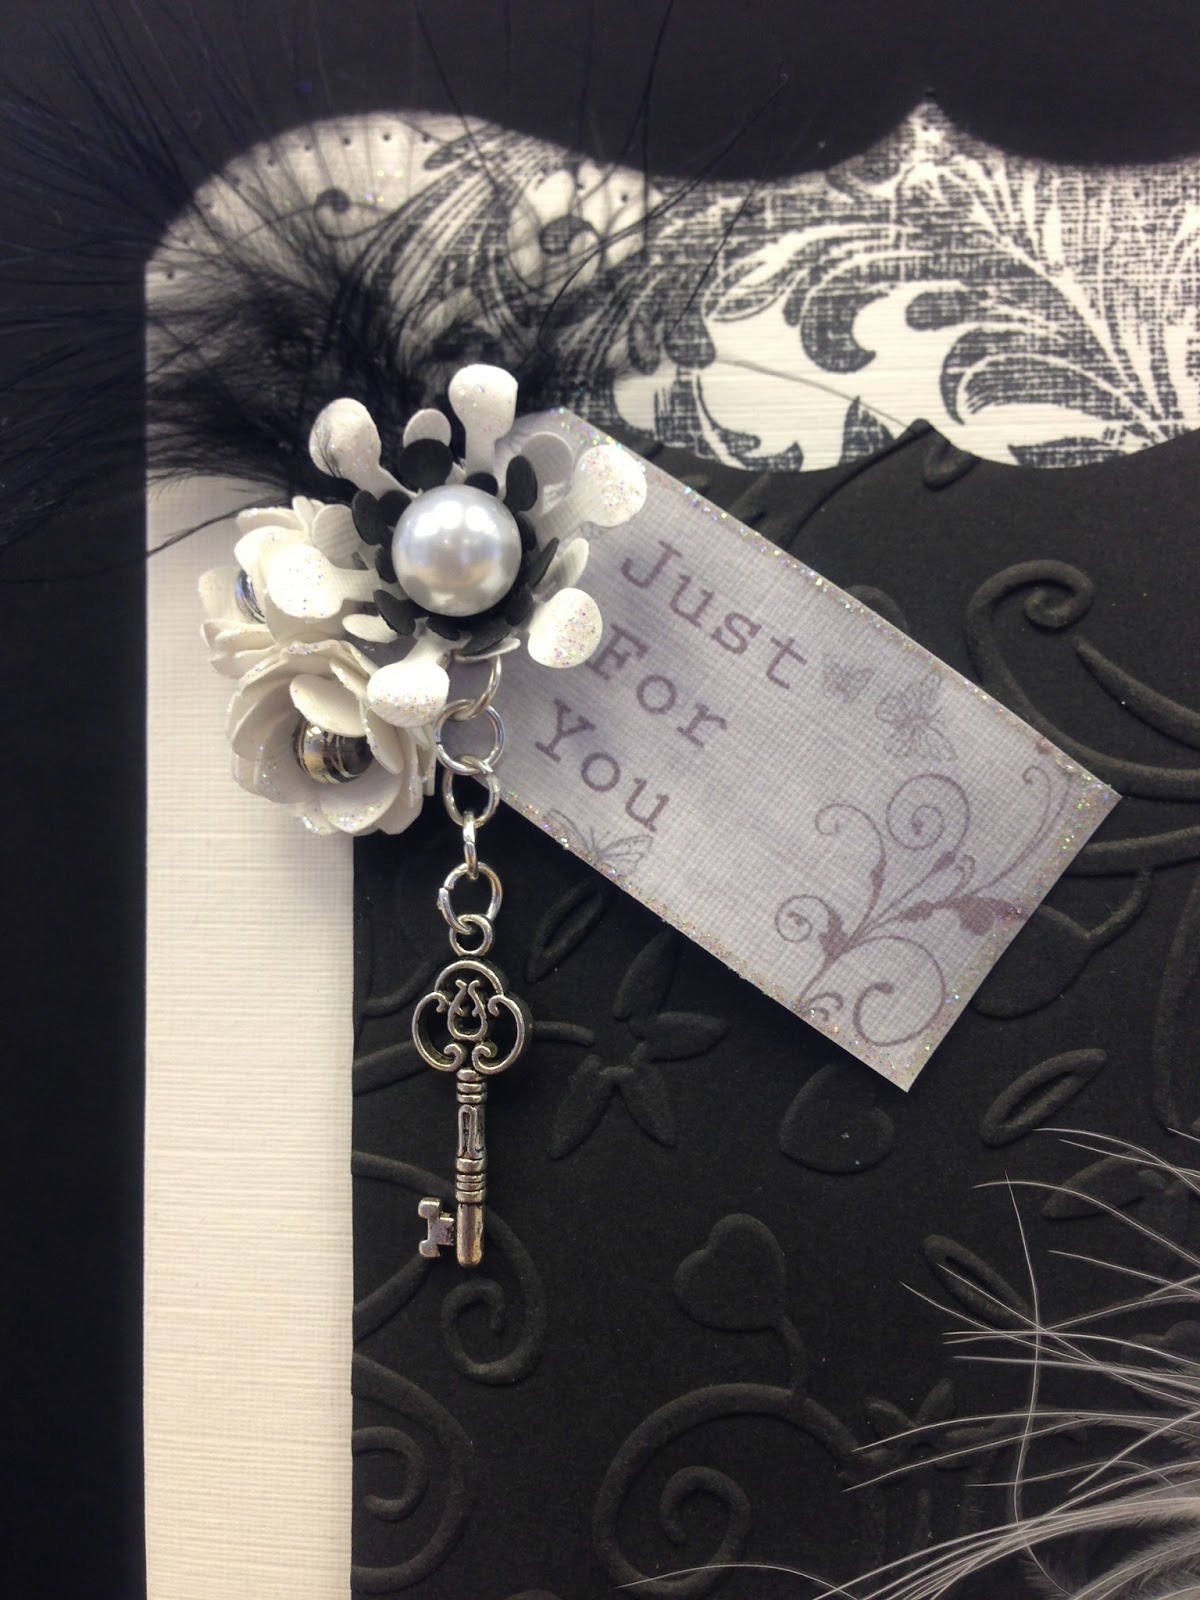
Anyway,.. we are on day 5 (already!) of my Christmas Show Card Samples - One day at a time posts,.. I hope you're not bored with them and you are getting some ideas on how to use my new Christmas stamps and papers :-)

So, here is card no.5, a lovely 8x8 card in beautiful deep red tones..

As always, I've popped a list of what I used with links to them on my www if you 'need' to purchase them :-)

8x8 Vintage Christmas Premium Paper Pad
Christmas Sentiments Stamps
Marvellous Squares Dies
Layered Poinsettia Dies
Stardust Stickles
Red Dazzlers
Aged Mahogany Distress Ink Pad
A4 Quilted Flower Embossing Folder


One of the things I love most about my new Vintage Christmas Paper Pad is that it works so well with the distress inks (anybody would think I planned that!) lol

Aged Mahogany and Festive Berries Distress Ink Pads are perfect for the red toned papers!

I hope you like this card,.. It's one of my faves, the detail of the Quilted Flower Embossing Folder really stands out 'in real life'.

Anyhoo, off to get some work done!

Happy Crafting!


Saturday, 2 August 2014

Christmas Show Card Samples - One day at a time - Day 4!


Good Morning Everyone

What torrential rain we had here last night! I hope that's not the end of our lovely sunny weather!

We are on Day 4 of my Christmas Show Card Samples!

As promised, here's the fourth card, with a little list of what I used and a link to my www for you to go and get them, should you feel the crafty need!) :-)

This is an 8" x 6" Card, in lovely shades of lilac and purple  :-)

Here's what I used:

Regency Snowflakes Stamps (not many left in stock!)
Christmas Verse Stamps (not many left in stock)


I love lilacs and purples on Christmas cards,.. they work so well with just plain ole white card and a bit of glitter!

The combination of the two styles of snowflake stamps work so well together,.. similar shape, with one being lacy and the other solid... lovely!

Hope you like it :-)

Happy Crafting!


Friday, 1 August 2014

Christmas Show Card Samples - One day at a time - Day 3!

Good Morning Everyone

As promised, here's the third sample card from my Christmas Shows, with a little list of what I used and a link to my www for you to go and get them, should you feel the crafty need!) :-)

This is an 8" x 8" Card, in lovely shades of blue  :-)

Festive Borders Stamps
Vintage Christmas 8x8 Paper Pad
Create a Flake 3 Dies
Christmas Sentiments Stamps (I have a limited stock of these left)
Snowflake Montage Stamps (I have a limited stock of these left)
A4 Lattice Heart Embossing Folder
Faded Jeans Distress Ink Pad
Marvelous Squares Dies


Hope you like it!

Happy Crafting!


Thursday, 31 July 2014

Christmas Show Card Samples - One day at a time - Day 2!

Good Afternoon Everyone

As promised, here's the second sample card from my Christmas Shows, with a little list of what I used and a link to my www for you to go and get them, should you feel the crafty need!) :-)

This is an 8" x 7" Card, in lovely Green Tones :-)

Vintage Christmas 8x8 Paper Pad (sold out in 2 days! now back in stock) :-)
Christmas Sentiments Collection Stamps
Bundled Sage Distress Ink Pad
A4 Lattice Heart Embossing Folder
Acrylic Circle (the one I used on air)
Stardust Stickles
Spellbinders Marvellous Squares Dies


I'm not sure if you can see from the photograph, but i've used the Stardust Stickles on the hearts on the embossed border and randomly around the lovely swirly stars on the background paper,.. they just add that extra 'something'!

Hope you like this card, I love green!

Happy Crafting!


Thursday, 8 May 2014

Never give up....

Good Morning Everyone

It's a rainy, windy day (so far!) here in Nottingham,.. there'll be no sitting in the garden looking at my lovely new garden centre purchases today! lol

Anyway, this is another one of my sample cards from my shows on Create & Craft....

This is what I used:
Cream 8x8 Card Blank
Cream Card
Teal Card 
Sentimentally Yours Quotes of Inspiration Collection A5 Stamp Set
Creative Expressions A4 Cascading Hearts Embossing Folder
Teal Ribbon
Pearl Embellishment
Self Adhesive Pearls
Spellbinders Blooms Four Dies
Spellbinders Grand Decorative Ovals Dies
Spellbinders Les Papillions Two Dies
Broken China Distress Ink


This is what I did:
I won't rattle on about matting and layering as you can see what I did from the photo...
The second layer is teal card.
The third layer is cream card. I used the Grand Decorative Oval dies to create the centre aperture.
This layer was them embossed using the Cascading Hearts Embossing Folder through my Grand Calibur.
(this layer is on the card with 3d foam pads to give height and dimension) :-)
The centre topper was creating using a smaller die from the grand decorative labels, this meant I would be able to see more of the teal card behind,
I stamped one of the sentiments from my Sentimentally Yours Quotes of Inspiration set, using the broken china distress ink (The flourish in the centre is part of the sentiment,.. snazzy eh :-)
I then die cut lots of the flowers from the blooms four dies and then two butterflies in cream card.
The flowers are stunning aren't they, I love them, it's so easy to shape them like this, I just twisted the petals into themselves using my tweezers.
I've used full round pretend pearls in the centre of my flowers, but normal self adhesive ones would be ok :-)
I finished off with my signature upside down triple bow in teal ribbon.
Popped a pearl embellishment in the centre and job done.. easy peasy :-) 
TOP TIP - I've used cream linen card on my project, if you want to stamp onto linen card with distress inks, use the reverse side, it's smoother, but still has a little texture showing through and you'll get better stamping results

You'll find most of the products I used on my show on my website here.. 

You'll find the full range of Polished Silk Glitters here..


Hope you like it :-)


Tuesday, 6 May 2014

Just a note....

Good Morning Everyone

It's now stopped raining and the sun is shining! :-)

This is another one of my sample cards from my shows on Create & Craft....

This is what I used:
Kraft 8x8 Card Blank
Cream Card
Kraft Card 
Sentimentally Yours Circle Frame & Flourish Collection A5 Stamp Set
Sentimentally Yours Damask Background and Damask Borders & Icons A6 Stamp Sets
Cosmic Shimmer Ivory Pearl PVA
Medium Dazzlers
Sue Wilson A4 Quilted Flower Embossing Folder
Spellbinders Gold Labels Dies
Brown Ribbon


This is what I did:
I won't rattle on about matting and layering as you can see what I did from the photo...
The second layer is cream card and I have stamped a random (ish) pattern using the largest and smallest of the Damask Icon stamps,.. the smaller has been stamped as a second generation (lighter tone of the same ink)
The third layer is kraft card and I have used the Ivory Pearl pva to create faux pearls all the way around.
The fourth layer cream card and I have stamped the damask background stamp in the centres, just enough to show through the aperture :-).
The fifth layer is kraft card, embossed using the quilted flower embossing folder. I have also cut an aperture in this using the gold labels dies. (Aperture was cut first)
I then die cut a layer in kraft card and a layer in cream card, stamped the sentiment onto the cream card.
I also used autumn bronze gilding wax around the edges (gives a beautiful pearlescent sheen!)
All edges were distressed, apart from the actual card and the kraft and cream layer :-)
The layers are difficult to see on the photo, but I have created dimension using foam pads.
I finished off with my signature upside down triple bow in brown ribbon.
Popped a medium dazzler in the centre and job done.. easy peasy :-) 
TOP TIP - Save time and do the faux pearls with the pva beforehand, to give them time to set properly.

You'll find most of the products I used on my show on my website here.. 

You'll find the full range of Polished Silk Glitters here..


Hope you like it!


Monday, 5 May 2014

Believe in yourself......

Good Morning Everyone

This is another one of my sample cards from my shows on Create & Craft....
(Now, aren't you impressed,.... I've blogged for the last 5 days in a row!) lol

This is what I used:
Cream 8x8 Card Blank
Beige Card
Tan Card 
Sentimentally Yours Quotes of Inspiration Collection A5 Stamp Set
Cosmic Shimmer Gunmetal Polished Silk Glitter
Medium Dazzlers
Double Sided Adhesive Sheet
Spellbinders Radiant Rectangle Dies
Couture Creations Large Joes Garden Embossing Folder
Brown Ribbon
5mm Pearls


This is what I did:
I won't rattle on about matting and layering as you can see what I did from the photo...
The 8x8 card blank was trimmed to an 8x6.
The second layer is beige card.
The third layer is tan card.
The fourth layer is beige card and it was covered in the self adhesive sheet and dusted with the beautiful gunmetal polished silk glitter (my new fave glitter!!), this is a much softer glitter than those we usually see, still has sparkle, but understated and classy. 
This piece of glittered card was then embossed with the Joes Garden embossing folder... It looks amazing! and even better than the photo in 'real life'.
The embossed, glittered card, feels like velvet and none of the glitter rubs off!
I then die cut the centre frame and oval layers from the Radiant Rectangles die set, making sure I had a tan base layer and cream layers to go on top.
I stamped the sentiment onto cream card, using black memento ink, using te masking technique to cover the frame so I only got the words (see my previous posts on how to do this)
I made a border of the tan and beige card, then pierced the top and bottom of the tan border..
The die cut rectangles are on layers of foam pads, to add height and dimension.
I finished off my my signature upside down triple bow and tails :-) and a sparkly dazzler, with a few pearls on the edges of the border.
TOP TIP - You can make beautiful glittered layers and borders on your projects by using double sided tape, rather than doing a full top layer as I have. The glitter is super fine, like a powder, so it does go a long, long way!

The Quotes of Inspiration stamps are perfect for adding meaningful words to our projects,... I love words on cards, they make them (I think) so much more elegant :-)
And remember, you don't have to use them with the frames around them (see my previous posts on how to mask off the frames) 

You'll find most of the products I used on my show on my website here.. 

You'll find the full range of Polished Silk Glitters here..


Hope you like it!


Thursday, 14 November 2013

Embossing and Inking and Colouring and Stamping :)

Good Morning Everyone

So,  it was a miracle day yesterday where I actually had time to make two cards! whoo hoo!

The first was a Christmas Card which is on my Sentimentally Yours Facebook Page

The second was the 8x8 Baby Boy card below...

Naturally, I have been playing with my new stamp range (who wouldn't!) and loved making this card as it consists of two of my favourite things ... Colouring and Stamping!

Here's the card: (with a close up of my sentiment stamp underneath... had to do the close up as the stamp is so detailed! the little feet are on the stamp set too :)


Here's what I used: 
Hope you like it :)

You can, of course, get all of my new stamps and my own stamping card in white or soft cream on my website here: Sentimentally Yours Stamps 

If you get Making Cards Magazine, you will see my latest Masterclass on 3d flower making using dies, templates and punches and I have also given them 5 sets of 3 packs of my stamps to give away to 5 lucky winners! (Page 25) Good Luck!

Right, I better get some work done!

Happy Crafting!


Thursday, 7 November 2013

Sentimentally Yours Stamps - Collection 2 Launch...

Good Afternoon Everyone

I know... I've neglected my blogging lol, but there is a good excuse ;-)

My range of clear stamps, Sentimentally Yours, have been keeping me busy!

Collection 1 was launched in September, as most of you know, and collection 2 is launching this Sunday!!

I have had such amazing feedback from everyone who has bought them and for that, thankyou!
It means I'm doing my job properly lol

Collection 2 will be giving you something a bit different too, I have added backgrounds and frames to the range :)

For those of you who can get to my shop, Honeypot Crafts, the details of my launch, where you can come and see (and buy) the new collection, are below..

Sunday 10th November, 11am til 2pm

For those who can't get to my shop, you will be able to buy them from my website here, from next week.

You can also buy them in selected shops around the country, please ask your local craft store if they are stocking them, and if they aren't, tell them to call me and get them in! lol

Hope to see some of you on Sunday and, as a little teaser, here is a card I made using one of my new Frame Stamps from Collection 2 :)


Happy Crafting!


Friday, 14 June 2013

Create & Craft/Ideal World Shows for next week...

Good Evening Everyone

Well, it will be a busy week at Create & Craft and Ideal World next week.... with two amazing new launches!

First up is the Hunkydory Christmas Blockbuster (Anne-Marie is launching on Tuesday night at 9pm - don't miss it!) 
I will be there on Wednesday and Saturday .... This Blockbuster (as you'd expect) is amazing! 
Beautiful designs, stunning quality and so much of it! 
It's always a pleasure working with such great quality products! I always spend an hour just looking at the kits, before I can decide what to use as they are all fab! lol
Times and dates of my shows are on the sidebar to your right -----}

Then, on Thursday night it's a brand new launch of some uber cute Serif Digikits, Fizzy Moon (you've probably seen Fizzy in the shops before, well, now you can create your own masterpieces with the lovely character!)
This show is even more exciting for me as I'll be sharing the slots with my mate, Sarah Hurley!! :o)
We are mixing & matching for this special POD and you'll see us both on most of the hours and just myself for some... excited much! :o)
Times and dates of these shows are also on my sidebar to your right -----}

Anyhoo - I've got my Demo Day in my shop (Honeypot Crafts) this Sunday (16th) before all that, there will be melt potting, enamelling, metal magicking, gleaming and moulding (in a crafty sense!) lol

I'm starting at 10:30 and finishing at 4pm so hope you can pop along for an hour or so..

Details are on my shops' Facebook Page - link on the sidebar to (you guessed it! lol) your right -----}

Have a great weekend everyone.... I know I will!

Happy Crafting!


Wednesday, 8 May 2013

Monochrome Fancy Box and Note Cards

Good Morning Everyone

Just a quick post this morning as I've got a list of jobs as long as my leg to be getting on with!

I wanted to show you my latest Fancy Note Card Box... I absolutely love making these so thought, after the last 'batch' proved so popular, that I would make a monochrome version in Black & White..

Just so you know, the stamp I have used is the Indigo Blu Vintage Flourish, which you can get here .. It's one of my personal faves and sells out every time I get it in the shop!

The punches I've used to create the flowers are by Woodware and Tonic..
Tonic Ones are here..
Woodware ones are here ...

Anyhoo... Here are the photos!

Remember it's my Demo Day in the shop this Sunday, 12th May... details are here 

Happy Crafting!


Friday, 3 May 2013

Demo Day - 12th May

Good Evening Everyone!

Well, finally! I have managed to sort a demo day at my shop!

I'm going to be there all day!

PS - If you click on the flyer, print it and bring it along with you, you'll get 10% off all your shopping on the day :o)
It all adds up!

Hope to see you there!


Here are the details.


Tuesday, 16 April 2013

Pro Marker Tutorial Workshop - No.3!


Good Evening Everyone


Well, I've finally managed to find a date for my next Pro Marker Tutorial Workshop!


Everyone has been asking me for soooo long, but I just haven't been able to squeeze it in so I have checked my diary and here are the details (sorry it's a fair few weeks away, but I've got so much going on, as usual lol)


Pro Marker Tutorial Workshop


Sunday 19th May 2013

11am - 1pm

The cost is £15pp

This workshop will be held in my shop and we will be focusing on Skin Types, Hair, Clothing, Teddies and (if we get time) I will show you how to create sky and water effects... 
all with fave Pro Markers!

I am limiting this workshop to a maximum of 15 people to ensure it's not a madhouse! lol

I already have 9 people booked, before I even posted my date so if you are interested, please let me know asap, either on here or email me at admin@honeypotcrafts.co.uk

I will require a deposit of half to secure your space.

Happy Crafting!


Sunday, 31 March 2013

A5 Fancy Note Card Box

Good Afternoon Everyone

I hope you are having a great Easter weekend :o)

I thought I'd pop a couple of photos on of a project we made at our March Craftathon at my shop yesterday ... I love this project so much, I made another one in a different colour scheme! :o)

This is a fabulous idea (I cannot take credit for the idea as I saw it on another blog months ago, I can't remember whose though, i t was months ago), but I have added my own style to it :o)

This is a fancy A5 sized box, with a box inside that houses note cards and envelopes... I love it and can see me making lots of variations of this when I get half an hour free :o)

But, for now, I will show you the blue one and the pink one that I have done so far...

Here's the blue one :o)

Front


Inside


Close Up Of Embellishments


Here's the pink one :o)

Front


 Inside
 

Close Up Of Embellishments


Hope you like them..!

Happy Crafting!